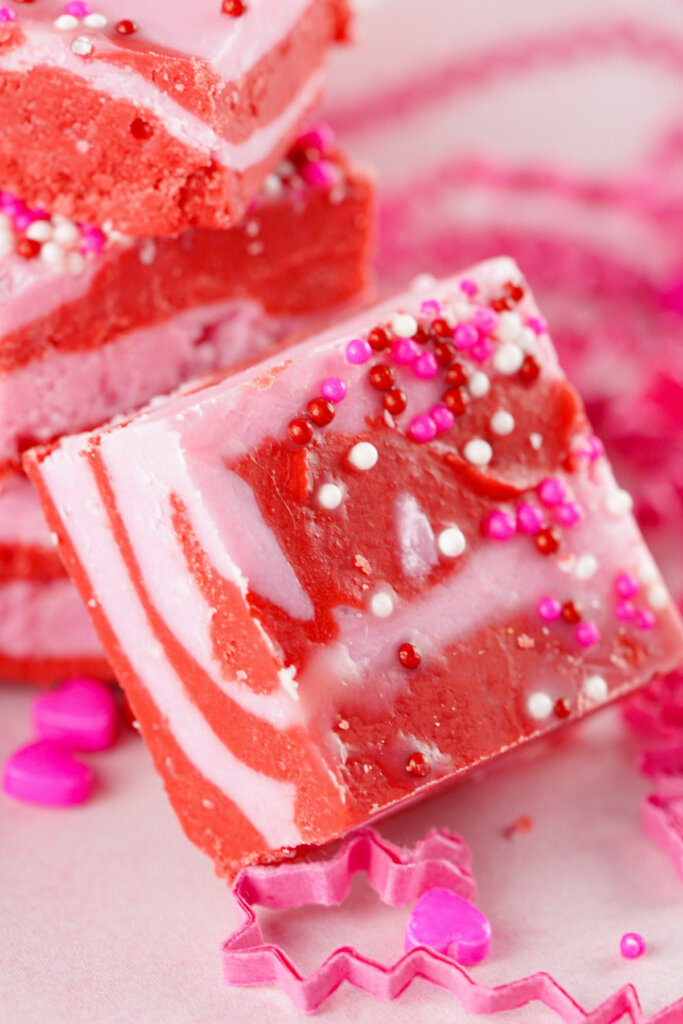
This easy-to-make Strawberry Fudge is perfect for Valentine’s Day. You can also enjoy this simple and delicious treat throughout the year.
Valentine’s Day
This Strawberry Fudge is the perfect treat for Valentine’s Day! Of course, you can totally enjoy it all year long – no holiday needed! 😉
If you’re looking for a simple and tasty treat to share with your loved one, this recipe is perfect. Fudge is the perfect dessert choice for any holiday. Not only is it easy, but there are endless possibilities for adjusting it.
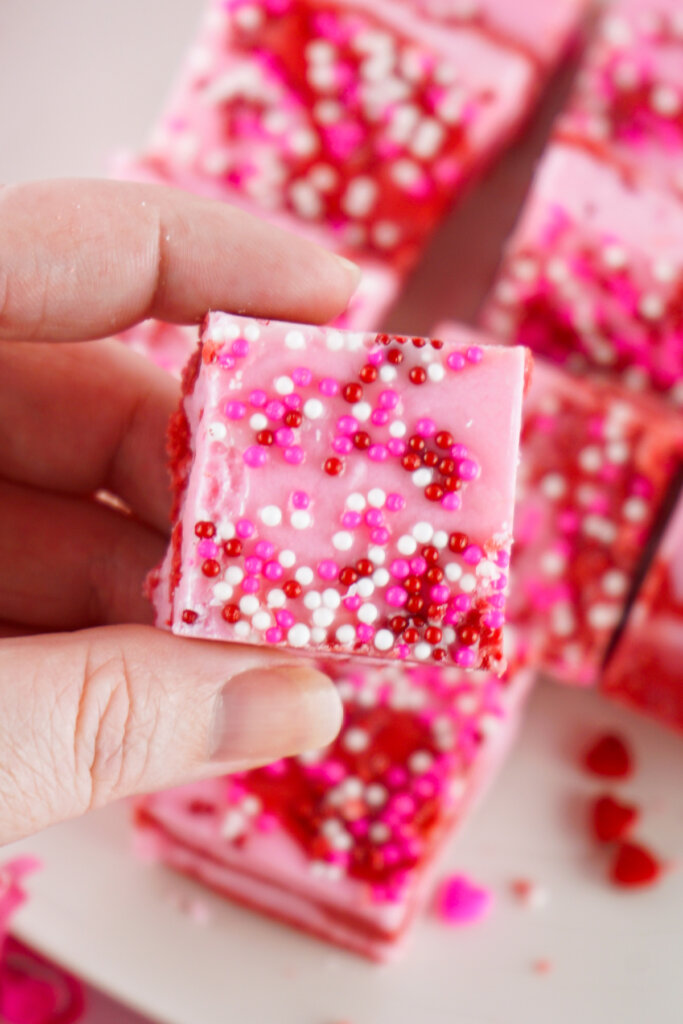
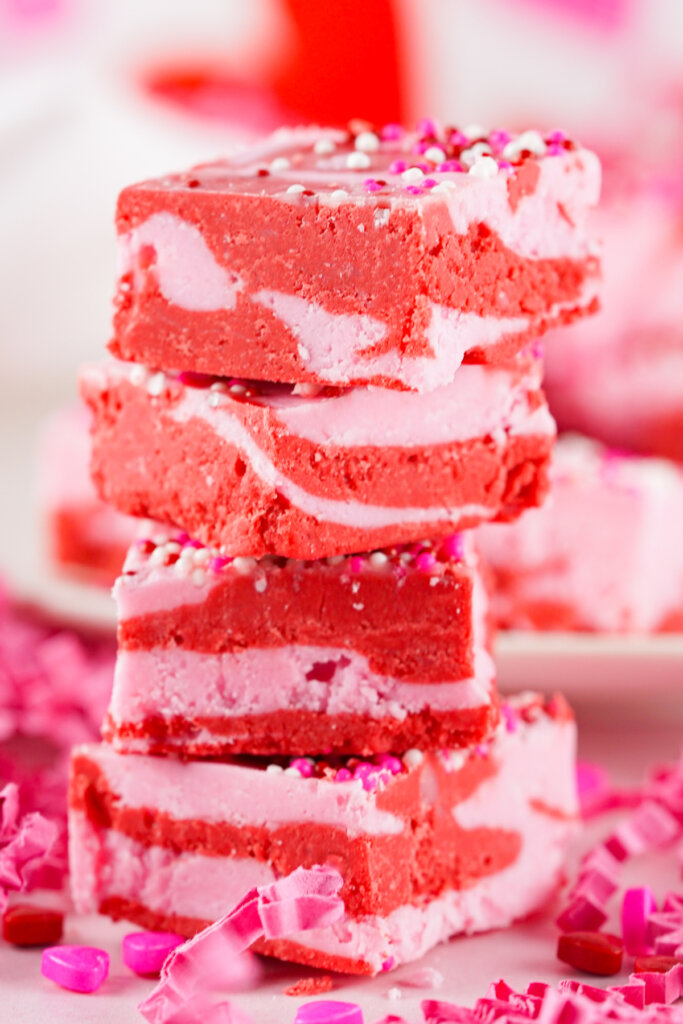
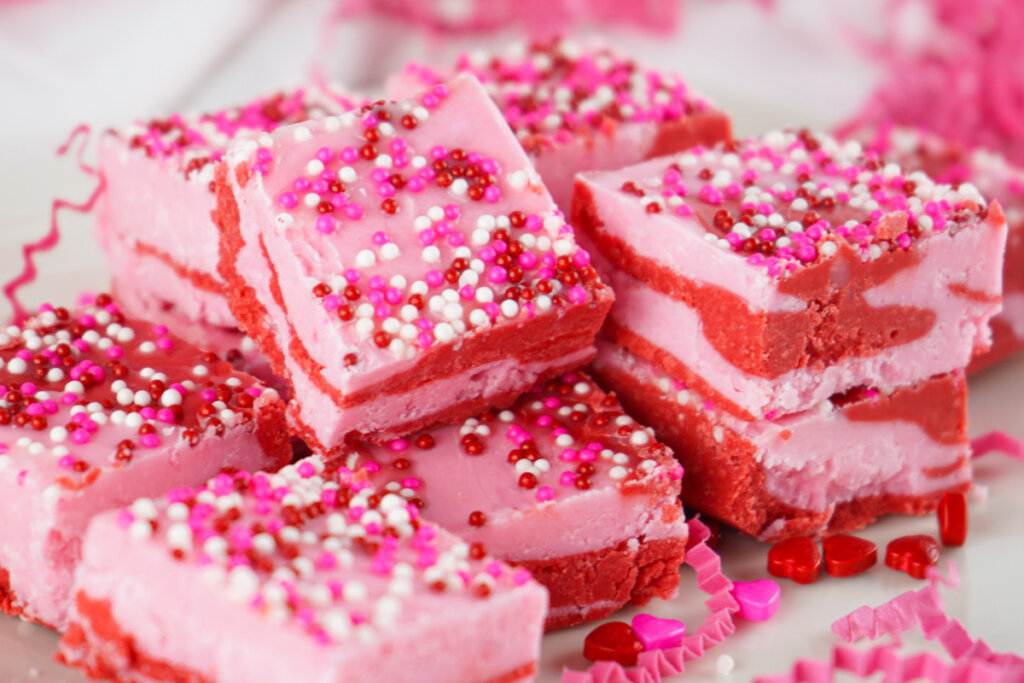
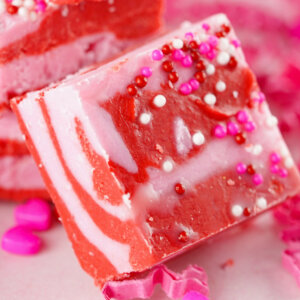
I think this fudge tastes like strawberry milk and it has a gorgeous color scheme to perfectly match Valentine’s Day.
For this recipe, candy melts are mixed with canned frosting and flavored extract for a simple recipe that comes together in no time. The great thing is you can mix up the colors of candy melts and flavors of extract for countless combinations of fudge recipes!
Strawberry Fudge: Ingredients and Substitutions
To make this recipe for Strawberry fudge, you will need …
Ingredients
- buttercream frosting – you can also use vanilla frosting.
- red and pink candy melts – you can usually find these in the party or cake/candy decorating departments or in your local craft/hobby store.
- strawberry extract – usually found in the baking aisle.
- non-pareils and sprinkles (optional) – use whatever kind you like.
How to make Strawberry Fudge
- Melt the candies separately – using a microwave is the fastest and easiest way to do this.
- Melt the frosting and stir in extract – you want to add the extract to the frosting and not the candy, so it (the candy melts) doesn’t sieze up.
- Stir frosting into the melted candy – your candy melts may want to sieze up on you – that’s ok – just keep stirring!
- Pour the candy mixtures into pan – pur the mixture into random spots and be sure to tap the pan on the countertop occasionally to remove any air bubbles.
Recipe Tips
- It is NORMAL for the candy to slightly seize when the frosting is added to it. There is no need to worry – you just need the mixture to be pourable. Keep stirring and you’ll be good to go.
- Do not add the extract directly to the candy melts or it will ruin it. The extract seizes the candy to a point that it’s not usable.
Strawberry Fudge: FAQs
If any questions popped up while reading this post, here is some additional information about the recipe that you’ll want to keep in mind!
If your fudge turns out hard or seems to fall apart when you’re cutting it, this means too much candy was used. You’ll need to reduce the amount of candy melts the next time around. It will still taste good, it just won’t be very soft or pretty.
If your fudge won’t set up well, it means not enough candy melts were used. You either need to increase the candy used or decrease the amount of frosting the next time around.
If you can’t find strawberry candy melts, that’s not a problem. The extract still adds plenty of flavors. You can just use normal pink candy melts instead.
If you don’t have access to candy melts, you can use white chocolate chips and color the chocolate chips with oil-based food dye. Do not use water-based dye or it will seize up and ruin the chocolate as the extract does.
Other recipes you may enjoy
Would you like to save this?
Strawberry Fudge
Equipment
Ingredients
- 1 container buttercream frosting 16 ounces
- ¾ cup red candy melts
- ¾ cup strawberry flavored pink candy melts
- 1 teaspoon strawberry extract
- Valentine’s Mix nonpareils sprinkles optional
Instructions
- Line your pan with parchment paper, making sure to leave some overhang. Set aside.
- Place the red candy melts in a microwave-safe bowl. Microwave on HIGH for 2-3 minutes or until smooth when stirred. Stop every 15-30 seconds to stir during the melting process to ensure the candy melts don’t overcook.
- Follow step one for the pink candy melts in a separate bowl.
- Remove the lid and film from the frosting and place it in the microwave for 45 seconds to 1 minute, or until fully melted and smooth.
- Add the extract to the frosting and stir well.
- Place half of the frosting in with the red candy melts and the other half with the pink candy melts. Stir each color vigorously until thoroughly mixed.
- Alternate pouring in the two colors of candy melt/frosting mixture in random spots, pausing to tap the pan in between so it evens out and removes bubbles.
- Once all your candy mixtures have been poured in and evened out, sprinkle the top of the fudge with the nonpareils.
- Place the pan of fudge in the fridge to chill for 2 hours or until hardened.
- To serve, cut the fudge into 1-inch squares.
Notes
- It is NORMAL for the candy to slightly seize when the frosting is added to it. There is no need to worry – you just need the mixture to be pourable. Keep stirring and you’ll be good to go.
- Do not add the extract directly to the candy melts or it will ruin it. The extract seizes the candy to a point that it’s not usable.
Nutrition
Please note that the nutritional information listed on this page is an estimation based on the products I used. Ingredients and nutritional information can vary significantly between brands. Always be sure to read labels. Please verify that a recipe fits your needs before using it. Nutrition info may contain errors, so please verify it independently. Likewise, recipes may contain errors, so please use your common sense when following them.


Leave a Reply