Two of the best foods ever come together in this No-Churn Cold Brew Ice Cream! It’s a super simple recipe anyone can make at home this summer.
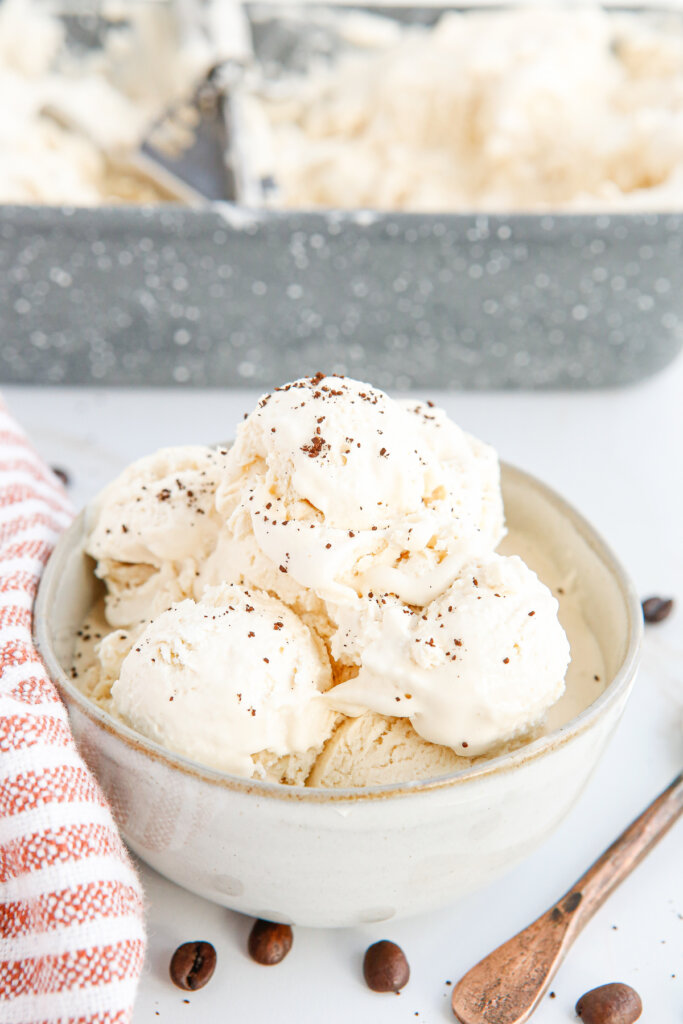
No-Churn Coffee Ice Cream
Coffee – ice cream – it’s a match made in heaven!
Let’s back up, though …
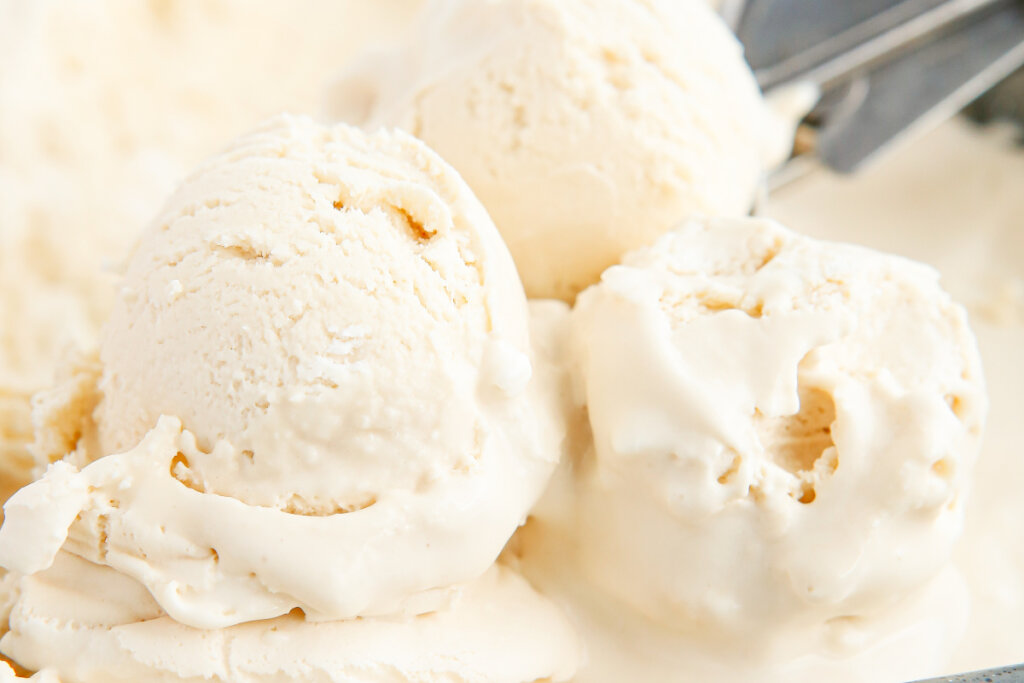
I’ve talked before about no-churn ice cream and how amazing it is, not to mention easy for those of us who like to make everything at home! An ice cream-making machine will churn the ingredients with air until they freeze into that gloriously amazingly WONDERFUL texture we all know and love. But if you don’t have an ice cream machine or don’t want one…”no-churn” ice cream gets the job done!
You can’t just freeze these ingredients together, or else you’ll get a brick of sugar milk. Instead, we’ll be whipping heavy cream into an ice-cream-like consistency using an electric mixer and adding the rest of the ingredients. Fun, right?!
This creamy recipe, in particular, is no-churn coffee ice cream, using real cold brew concentrate and ground coffee as a garnish. It’s more of a grown-up recipe unless you have kids who enjoy the taste of coffee – and you don’t mind them being a little hyperactive for the day! 😉
I hope you love it as much as I do! It’s a fantastic base for mix-ins, so you can customize it however you’d like.
It’s so easy and such a huge lifesaver on those hot summer days you don’t want to head to the store!! 😉

Coffee Ice Cream: Ingredients & Substitutions
For this Coffee Ice Cream recipe, you will need ….
Ingredients
- heavy cream, sweetened condensed milk – the base ingredients for your ice cream. When mixed and chilled, these create tasty no-churn ice cream!
- cold-brew concentrate – this is what provides the yummy coffee flavor in your ice cream.
- vanilla extract – added to anything sweet, vanilla extract brings out the flavors even more. You barely taste the vanilla itself, but you certainly taste its effects!!
- sea salt – is another very subtle way to enhance the flavors in your ice cream.
- finely ground coffee – optional, but makes for a great topping/garnish!
- ice cream cones – optional to use while you’re serving. But also not optional, because who doesn’t want a cone?! 😉

No-Churn Coffee Ice Cream: FAQs
This recipe makes a quart or 4 one-cup servings. It’s the perfect treat on a warm afternoon.
While the ice cream takes about 6-8 hours to set, the actual prep time is just 15 minutes. So, it’s still a very easy recipe!! It’s just not fast at all.
In an airtight container, you can keep coffee ice cream in the freezer for about 3-4 weeks!
No, and you’ll want to use condensed milk in this recipe! It’s a big part of what gives the ice cream a creamy texture.
Something with high-fat content. I recommend at least 35%. Otherwise, your ice cream will be more water than anything and fill up with ice crystals. Not what we’re going for here!
Would you like to save this?
Other recipes you may enjoy
No-Churn Cold Brew Ice Cream
Equipment
Ingredients
- 1 ¾ cups heavy cream cold
- ½ cup cold brew concentrate
- 1 can sweetened condensed milk 14oz
- 1 teaspoon vanilla extract
- ⅛ teaspoon sea salt
- 1 teaspoon finely ground coffee for garnish (optional)
- ice cream cones for serving (if desired)
Instructions
- Place a loaf pan into the freezer to chill.
- In a large mixing bowl, beat the cold heavy cream with an electric mixer until stiff peaks form.
- In a separate medium-sized mixing bowl, whisk together the cold brew, condensed milk, vanilla extract, and sea salt until well mixed.
- Fold the cold brew mixture into the whipped heavy cream until just combined.
- Remove the loaf pan from the freezer and pour the ice cream mixture into the loaf pan.
- Place in the freezer and chill for 6-8 hours in a level spot until the ice cream is set.
- Serve in a bowl or scoop into an ice cream cone, and garnish with a sprinkle of coffee grinds if desired.
Notes
- This recipe makes about 1 quart.
- Store leftovers in an airtight container in the freezer for 3-4 weeks or store in the loaf pan with plastic wrap for up to 1 week.
Nutrition
Please note that the nutritional information listed on this page is an estimation based on the products I used. Ingredients and nutritional information can vary significantly between brands. Always be sure to read labels. Please verify that a recipe fits your needs before using it. Nutrition info may contain errors, so please verify it independently. Likewise, recipes may contain errors, so please use your common sense when following them.


Leave a Reply