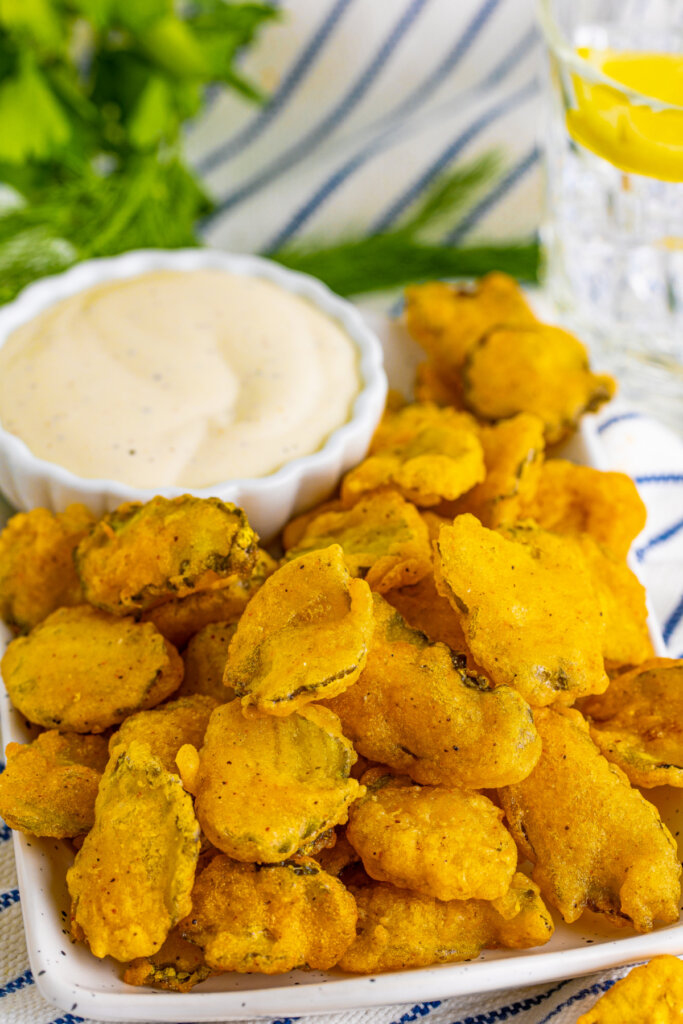
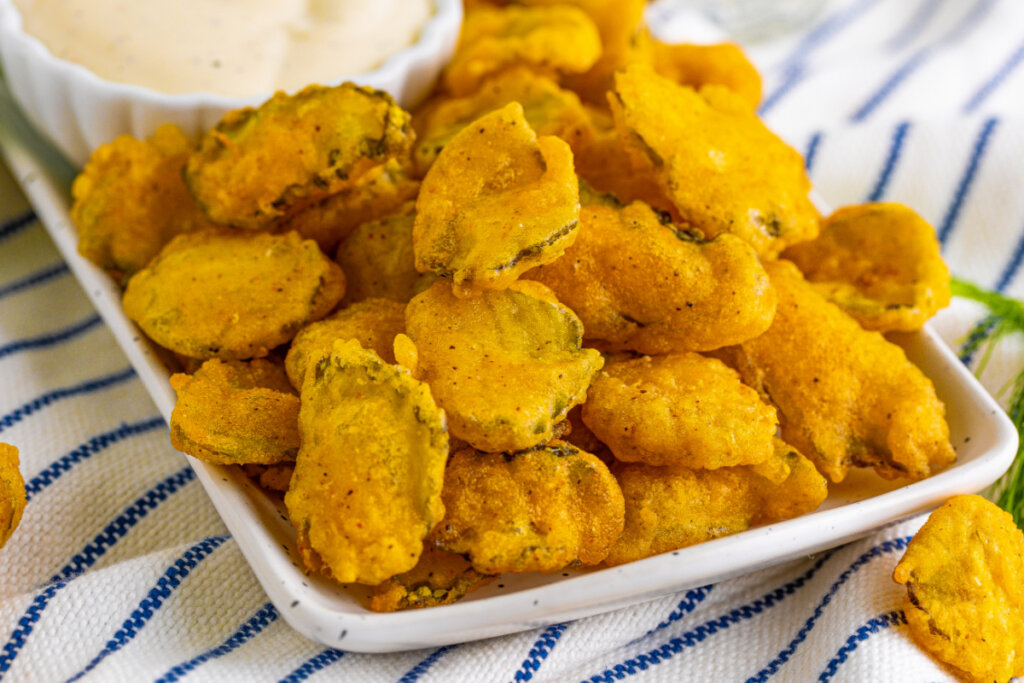
Enjoy a burst of tangy and crunchy delight with this Fried Pickles recipe. Coated in a seasoned batter and deep-fried to golden perfection, they’re the ultimate snack or appetizer. Perfect for dipping!
Deep Fried Pickles
Discover the magic of Fried Pickles, a snack that marries the tang of pickles with the crunch of a perfect batter.
Whether you’re hosting a party or just looking for a unique snack to enjoy, Fried Pickles are sure to be a crowd-pleaser. With just 20 minutes of prep time and a quick 4-minute cook time, this treat can be whipped up in no time!
One of the great things about a Fried Pickles recipe is its versatility. While the traditional approach involves deep frying, those who are health-conscious may opt for Fried Pickles in an air fryer. The air-fried pickles offer a lighter yet equally crispy alternative to the deep-fried version.
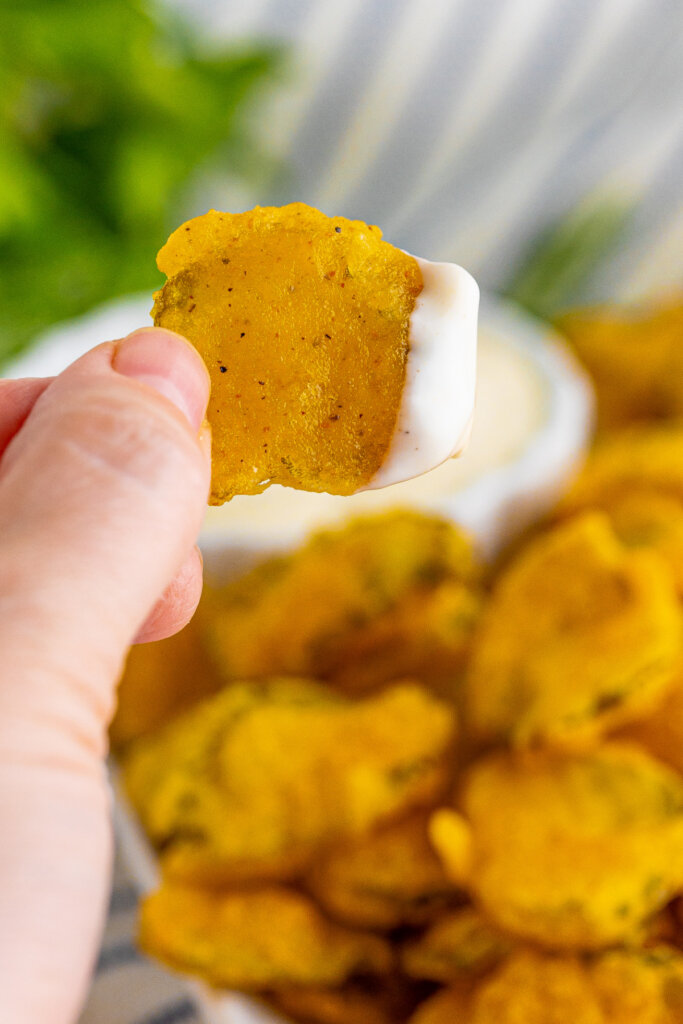
When it comes to the batter, it’s all about balance. Our Fried Pickles batter blends all-purpose flour, yellow cornmeal, and creole seasoning for a crispy, flavorful coat. The inclusion of pickle juice adds that extra zing, capturing the essence of what makes a pickle so delicious.
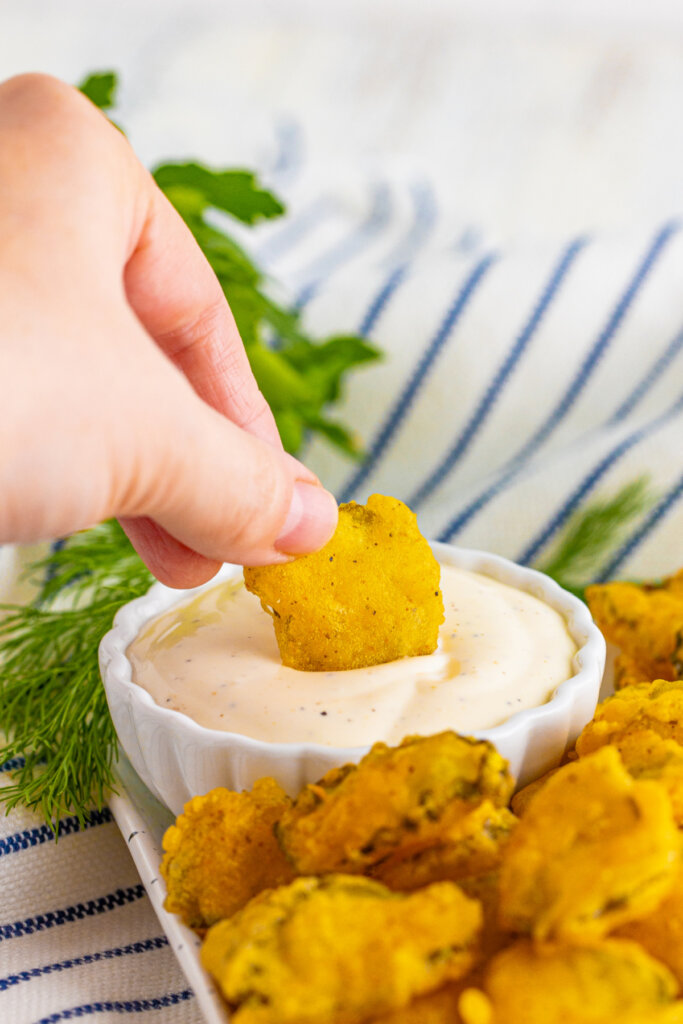
A crucial component of the Fried Pickles experience is the dipping sauce. While ranch dressing is a classic choice, don’t limit yourself. Whether you prefer the creamy tanginess of remoulade, the sweet kick of honey mustard, or even an exotic garlic aioli, the right Fried Pickles dipping sauce can elevate your snacking experience to new heights.
So, the next time you’re in the mood for something tangy and crunchy, consider giving Fried Pickles a try. Whether you stick with the classic deep-fried method or go for the air-fried alternative, this dish is bound to leave you craving for more.
Remember, the key to a fantastic Fried Pickles recipe lies in the quality of ingredients, the texture of the batter, and the accompanying dipping sauce. Enjoy!
Fried Pickles Recipe: Ingredients & Substitutions
To make Fried Pickles, you will need …
Ingredients
- peanut oil – for frying. It has a higher smoke point allowing the food to cook quickly resulting in a crispy coating with little oil absorption. You can use other neutral oils made for frying, like vegetable oil or canola oil.
- hamburger dill chip pickles – you need pickles to make Fried Pickles. Of course! I like to use classic dill pickles but use whatever pickle variety you like.
- all-purpose flour, yellow cornmeal, creole seasoning, water, and pickle juice – these combine to create a crispy, crunchy, and flavorful batter.
- ranch dressing – for dipping. Or your preferred dipping sauce. Honey mustard, comeback sauce, remoulade, garlic aioli, or blooming onion sauce are great options.
How to make Fried Pickles
Heat oil. Heat oil in a deep fryer or a Dutch oven with 3 inches of oil up the side of the pan to 350°F.
Would you like to save this?
Dry the pickles. Place paper towels on a sheet tray. Place the pickles on the paper towels, without them touching each other. Take more paper towels or a clean kitchen towel and press out as much of the liquid from the pickles as you can. They need to be dry.
Prepare the batter. In a medium-sized bowl whisk together the flour, cornmeal, and creole seasoning. Add the water and pickle juice, and stir to combine until smooth.
Batter the pickles. Once the oil is up to temp, add handfuls of the dried pickles to the batter. Using a slotted spoon or your clean hands, separate the pickles making sure they are not sticking.
Fry the pickles. Carefully drop them into the hot oil one at a time. If using a deep fryer, I like to shake the basket around to make sure they don’t stick to the bottom. Fry until crispy and lightly golden brown, about 4 minutes. Stir them around every so often to make sure they are browning evenly.
Drain. Remove the pickles from the oil with a spider strainer and place them on a paper towel-lined platter to absorb any excess oil. Immediately place the pickles onto a wire rack over a sheet tray to catch any drips. Repeat with the remaining pickles.
Serve. Serve with ranch for dipping.
Fried Pickles: FAQs
Sure – blackened seasoning, Old Bay, BBQ, or lemon pepper are great options.
Yes, you can prepare the batter ahead of time, but it’s best to use it within a few hours for optimal results.
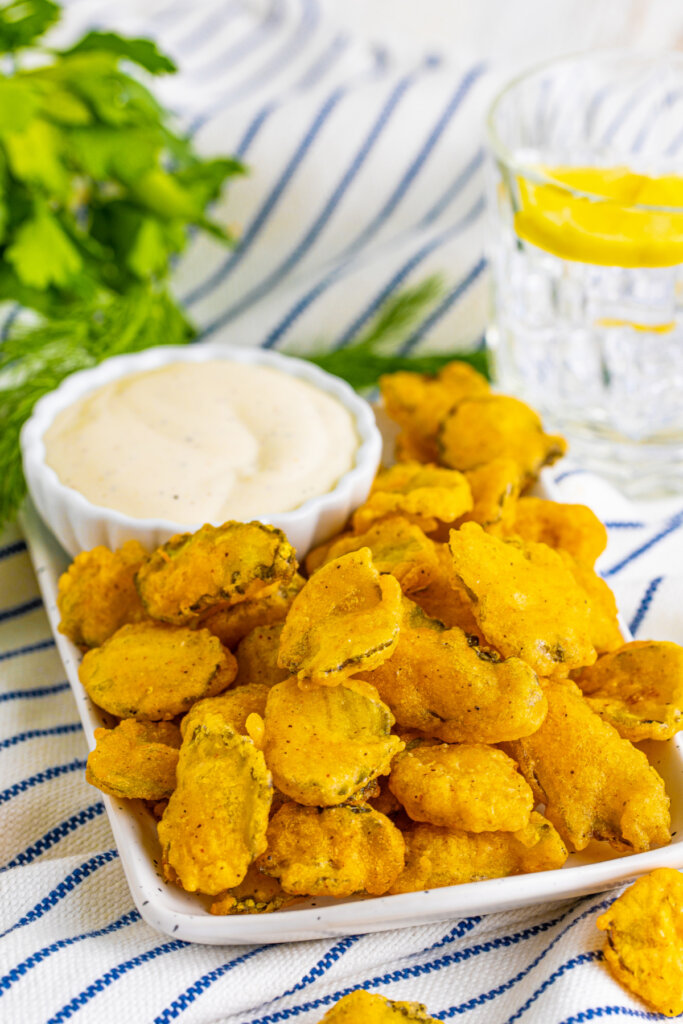
The secret to keeping them crispy lies in draining the excess moisture from the pickles before battering them. After frying, place them on a paper towel-lined plate to soak up excess oil.
While they are best enjoyed fresh, you can store leftovers in an airtight container and reheat them in an oven or air fryer to revive some of their crispiness.
Yes, you can freeze Fried Pickles, although the texture may not be as crispy when you reheat them. If you choose to freeze them, follow the steps in the notes section of the recipe card to help maintain their quality.
They make an excellent appetizer and pair well with various dishes like burgers, sandwiches, and salads. They’re also a great addition to a finger food platter during game days or parties.
Other recipes you may enjoy
Fried Pickles
Equipment
Ingredients
- peanut oil for frying
- 2 cups hamburger dill chip pickles drained
- ½ cup all-purpose flour
- 2 tablespoons yellow cornmeal
- ¾ teaspoon creole seasoning
- ½ cup water
- 1 tablespoon reserved pickle juice
- Ranch dressing for serving
Instructions
- Heat the oil in a deep fryer or a Dutch oven with 3 inches of oil up the side of the pan to 350°F.
- Place paper towels on a baking sheet. Then, place the pickles on the paper towels, making sure they are not touching each other. Take more paper towels or a clean kitchen towel and press out as much of the liquid from the pickles as you can. They need to be dry.
- In a medium-sized bowl, whisk together the flour, cornmeal, and creole seasoning. Add the water and pickle juice, and stir to combine until smooth.
- Once the oil is up to temp, add handfuls of the dried pickles to the batter. Using a slotted spoon or your clean hands, separate the pickles making sure they are not sticking.
- Carefully drop them into the hot oil one at a time. If using a deep fryer, I like to shake the basket around to make sure they don’t stick to the bottom. Fry until crispy and lightly golden brown, about 4 minutes. Stir them around every so often to make sure they are browning evenly.
- Take the fried pickles and place them on a clean paper towel-lined baking sheet to absorb any excess oil. Immediately place the pickles onto a wire rack over a baking sheet to catch any drips and prevent them from getting soggy. Repeat with the remaining pickles.
- Serve with Ranch for dipping.
Notes
- Ranch dressing is a classic dipping choice, but you can also try other sauces like honey mustard, remoulade, garlic aioli, or even a spicy comeback sauce.
- Hamburger dill chip pickles are commonly used for this recipe, but you can experiment with other types based on your preference.
- Peanut oil is often recommended for its high smoke point and neutral flavor, but you can also use other oils like canola or vegetable oil.
- You can prepare the batter ahead of time, but it's best to use it within a few hours for optimal results.
- While Fried Pickles are best enjoyed fresh, you can store leftovers in an airtight container and reheat them in an oven or air fryer to revive some of their crispiness.
FREEZING FRIED PICKLE
You can freeze Fried Pickles, although the texture may not be as crispy when you reheat them. If you choose to freeze them, follow these steps to help maintain their quality:- Cool Completely: Allow the fried pickles to cool to room temperature.
- Separate Layers: Place a sheet of parchment paper between layers of pickles to prevent them from sticking together.
- Package Properly: Put the cooled, layered pickles in an airtight container or a heavy-duty freezer bag. Remove as much air as possible to minimize freezer burn.
- Label and Date: Clearly mark the container with the date so you can keep track of how long they've been frozen.
- Freeze: Store the container in the freezer. They should be consumed within 1-2 months for the best quality.
Nutrition
Please note that the nutritional information listed on this page is an estimation based on the products I used. Ingredients and nutritional information can vary significantly between brands. Always be sure to read labels. Please verify that a recipe fits your needs before using it. Nutrition info may contain errors, so please verify it independently. Likewise, recipes may contain errors, so please use your common sense when following them.

Leave a Reply