
This post may contain affiliate links. As an amazon associate, I earn from qualifying purchases. See my full Disclosure Policy for details.

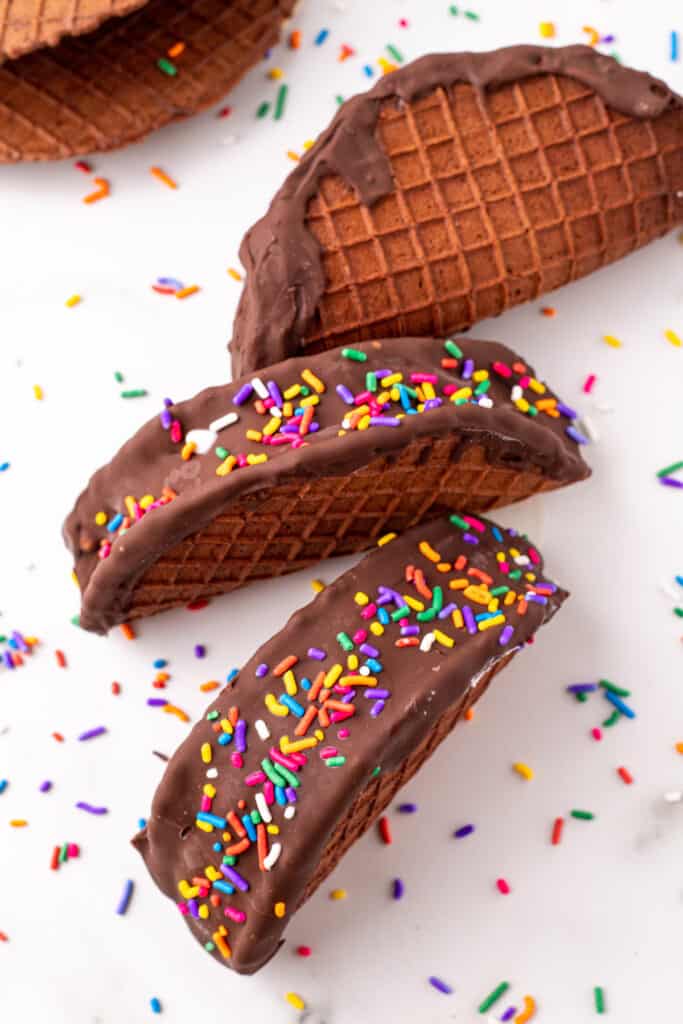
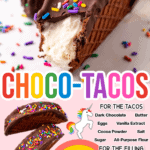
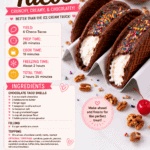
If you’ve been craving the nostalgic frozen treat you remember from ice cream trucks and grocery store freezers, this Choco-Taco recipe is the homemade version you’ve been waiting for. Crisp chocolate waffle taco shells are filled with creamy vanilla ice cream, dipped in chocolate, and topped with everything from chopped peanuts to colorful sprinkles for a fun dessert that’s just as delicious as the original.
Want to see more Love Bakes Good Cakes recipes on Google?
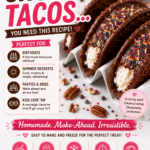
The best part about making homemade Choco-Tacos is that you can customize every bite. Stick with the classic vanilla-and-peanut combination, or get creative with your favorite ice cream flavors, chocolate coatings, and toppings. They’re perfect for birthday parties, summer cookouts, family movie nights, or anytime you’re in the mood for a frozen treat that’s guaranteed to impress.
Although they look bakery-worthy, this copycat Choco-Taco recipe is surprisingly simple to make. Once you master shaping the warm chocolate shells, the rest is just adding ice cream, decorating, and letting the freezer do the rest of the work.
Whether you’re introducing these to a new generation or recreating a favorite childhood dessert, this recipe delivers all the crispy, creamy, chocolatey goodness you remember.
Table of Contents
- What is a Choco-Taco?
- ❤️ Why You’ll Love This Recipe
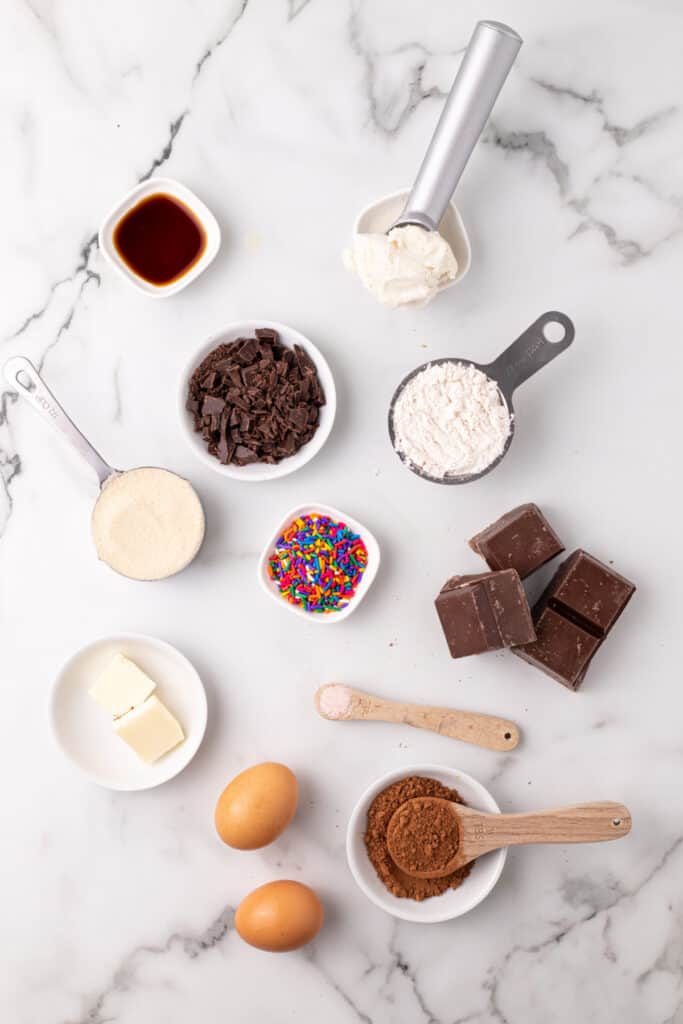
- Key Ingredients
- Why this Choco-Taco recipe works
- Ingredients & Substitutions
- Variations
- Tips for Best Results
- FAQs
- Storage
- How to Make Chocolate Tacos
- Make ahead
- What to serve with homemade Choco-Tacos
- If You Enjoyed Homemade Choco-Tacos
- 📌 Save This Recipe
- Choco-Taco Recipe
- 🥡 Storage
- ♨️ Reheating
- ❄️ Freezing
- 🍳 Alternate Cooking Methods
- ♻️ Leftovers
- 📝 Notes
- 🍽️ Other Recipes You May Enjoy
What is a Choco-Taco?
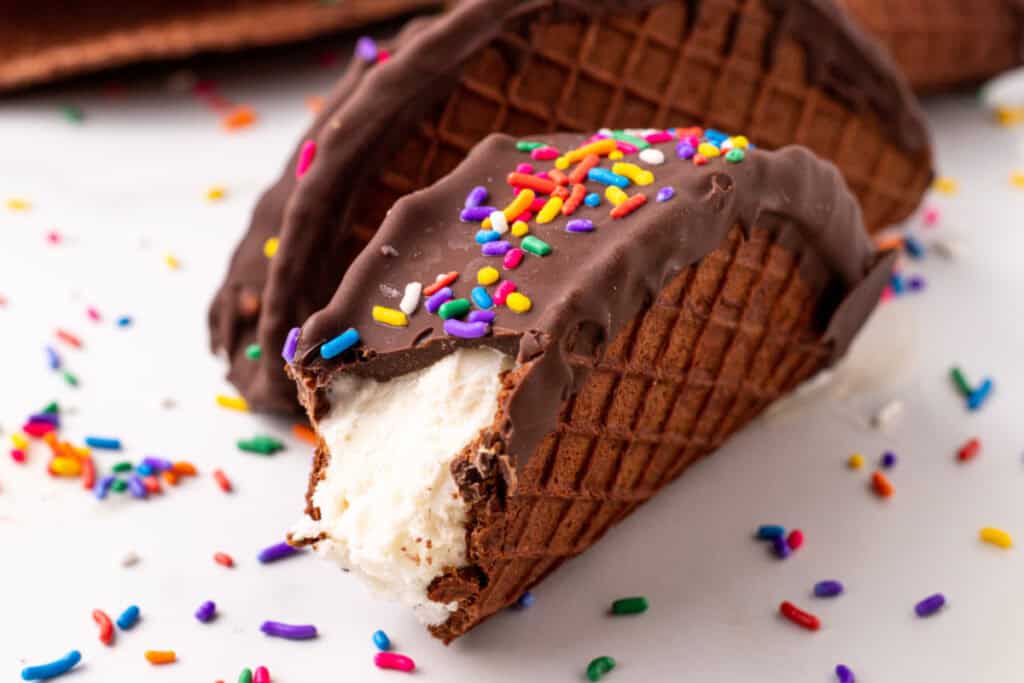
A Choco-Taco is a frozen dessert made with a thin waffle cone that’s folded into the shape of a taco while it’s still warm. Once cooled, it’s filled with ice cream, dipped in chocolate, and usually finished with chopped peanuts or colorful sprinkles.
The original Choco-Taco became an iconic ice cream truck favorite and eventually made its way into grocery store freezers, where it earned a loyal following for decades. Its unique combination of a crispy waffle shell, creamy ice cream, crunchy chocolate coating, and fun toppings made it unlike any other frozen dessert.
Even though the original chocolate taco is no longer widely available, it’s surprisingly easy to recreate at home. With a sugar cone waffle maker and a few simple ingredients, you can enjoy the same nostalgic flavors while customizing every taco with your favorite ice cream, chocolate, and toppings.
Homemade Choco-Tacos are also a fun dessert project for families because everyone can decorate their own with different toppings and flavor combinations.
❤️ Why You’ll Love This Recipe
- Tastes like the nostalgic frozen dessert you remember.
- Easy to customize with your favorite ice cream flavors and toppings.
- Made with simple pantry staples.
- Perfect for birthdays, summer parties, and family gatherings.
- The crisp chocolate shell and creamy ice cream create the perfect combination of textures.
- Fun to make with kids and grandkids.
- A make-ahead dessert that’s ready whenever a sweet craving strikes.
- Better than store-bought because you control every ingredient.
- Easy to decorate for holidays and special occasions.
Key Ingredients
NOTE: This section highlights ingredients used in the recipe. Find the full printable recipe in the recipe card below.
For the chocolate taco shells
Dark chocolate – Adds rich chocolate flavor and helps create crisp, sturdy shells.
Butter – Adds richness and keeps the batter tender.
Eggs – Give the shells structure while helping them stay flexible long enough to shape.
Vanilla extract – Enhances the chocolate flavor.
Salt – Balances the sweetness.
Granulated sugar – Sweetens the shells and helps them crisp as they cook.
All-purpose flour – Provides the structure for the waffle shells.
Cocoa powder – Gives the shells their deep chocolate flavor and color.
For the filling
Vanilla ice cream – A classic choice that pairs perfectly with the chocolate shell.
Chocolate candy melts – Create an easy chocolate coating that hardens quickly.
Optional toppings – Chopped peanuts, pecans, almonds, sprinkles, mini chocolate chips, crushed chocolate sandwich cookies, toffee bits, toasted coconut, or mini marshmallows all make delicious finishing touches.
Why this Choco-Taco recipe works
This recipe keeps all of the classic flavors that made the original chocolate taco so memorable while using ingredients that are easy to find at the grocery store.
The homemade chocolate waffle shells bake up thin and crisp, giving you the signature crunch that pairs perfectly with creamy vanilla ice cream. Freezing the filled tacos before dipping them in chocolate helps keep everything neat and creates a firm shell that’s easy to eat.
Using chocolate candy melts for the coating creates a smooth finish that hardens quickly without the need for complicated tempering. From there, you can keep things classic with chopped peanuts or create your own version using sprinkles, crushed cookies, toasted coconut, mini chocolate chips, or your favorite candy pieces.
The result is a homemade frozen dessert that’s nostalgic, customizable, and every bit as satisfying as the original.
Ingredients & Substitutions
NOTE: This section suggests substitutions. Find the full printable recipe in the recipe card below.
- Dark chocolate – Provides rich chocolate flavor for the taco shells. Semisweet or bittersweet chocolate may be substituted if preferred.
- Butter – Adds richness and helps create crisp yet tender shells. Unsalted butter is recommended.
- Eggs – Give the batter structure while helping the shells stay flexible long enough to fold.
- Vanilla extract – Enhances the chocolate flavor. Pure vanilla extract provides the best flavor.
- Salt – Balances the sweetness and brings out the chocolate flavor.
- Granulated sugar – Sweetens the shells while helping them crisp as they cool.
- All-purpose flour – Provides the structure for the chocolate waffle shells. A measure-for-measure gluten-free flour blend may work, although the texture may vary slightly.
- Cocoa powder – Adds rich chocolate flavor. Natural or Dutch-process cocoa powder both work well.
- Vanilla ice cream – The classic filling for a copycat Choco-Taco recipe. Chocolate, cookies and cream, strawberry, mint chocolate chip, birthday cake, caramel, coffee, or peanut butter ice cream are all delicious alternatives.
- Chocolate candy melts – Create a smooth coating that hardens quickly. You can also use melted milk chocolate, semisweet chocolate, or dark chocolate. If using regular chocolate, stir in a small amount of coconut oil or vegetable shortening for a smoother coating.
Optional toppings
Customize your Choco-Tacos with:
- Chopped peanuts
- Chopped pecans
- Chopped almonds
- Colorful sprinkles
- Mini chocolate chips
- Crushed chocolate sandwich cookies
- Toffee bits
- Toasted coconut
- Mini marshmallows
- Crushed candy bars
- Chocolate curls
- Flaky sea salt
Variations
One of the best things about this Choco-Taco recipe is how easy it is to customize. Start with the classic version or mix and match your favorite ice cream flavors, chocolates, and toppings to create your own signature dessert.
- Classic copycat – Fill the shells with vanilla ice cream, dip them in chocolate, and finish with chopped peanuts for the closest version of the nostalgic original.
- Cookies and cream – Use cookies and cream ice cream, then top with crushed chocolate sandwich cookies and a chocolate drizzle.
- Birthday cake – Fill with birthday cake ice cream and decorate with colorful sprinkles for a fun party dessert.
- Mint chocolate chip – Swap in mint chocolate chip ice cream and sprinkle mini chocolate chips over the chocolate coating.
- Peanut butter cup – Fill the shells with peanut butter ice cream and top with chopped peanut butter cups and mini chocolate chips.
- S’mores – Use chocolate or marshmallow ice cream, then finish with crushed graham crackers, mini marshmallows, and a drizzle of chocolate.
- Turtle – Fill with caramel ice cream and top with chopped pecans, caramel drizzle, and chocolate.
- Strawberry cheesecake – Use strawberry cheesecake ice cream and sprinkle crushed graham crackers over the chocolate before it sets.
- Coffee lovers – Coffee ice cream paired with dark chocolate and chopped toffee bits makes an irresistible grown-up version.
- Double Chocolate – Use chocolate ice cream and top with mini chocolate chips or chocolate curls.
- Tropical twist – Try coconut ice cream with toasted coconut and chopped macadamia nuts.
- Holiday fun – Match the sprinkles to the occasion. Red, white, and blue for the Fourth of July, orange and black for Halloween, or red and green for Christmas make these treats festive all year long.
Tips for Best Results
- Shape each shell immediately after removing it from the waffle maker. They become crisp within seconds as they cool.
- Don’t overmix the batter. Stir just until the dry ingredients are incorporated for the most tender shells.
- Allow the shells to cool completely before adding the ice cream.
- Freeze the filled tacos before dipping them in chocolate. This helps prevent the ice cream from melting while you decorate.
- Let the melted chocolate cool slightly before dipping so it doesn’t melt the ice cream.
- Add toppings immediately after dipping while the chocolate coating is still wet. Work with one taco at a time, keeping the others in the freezer until you’re ready to decorate them.
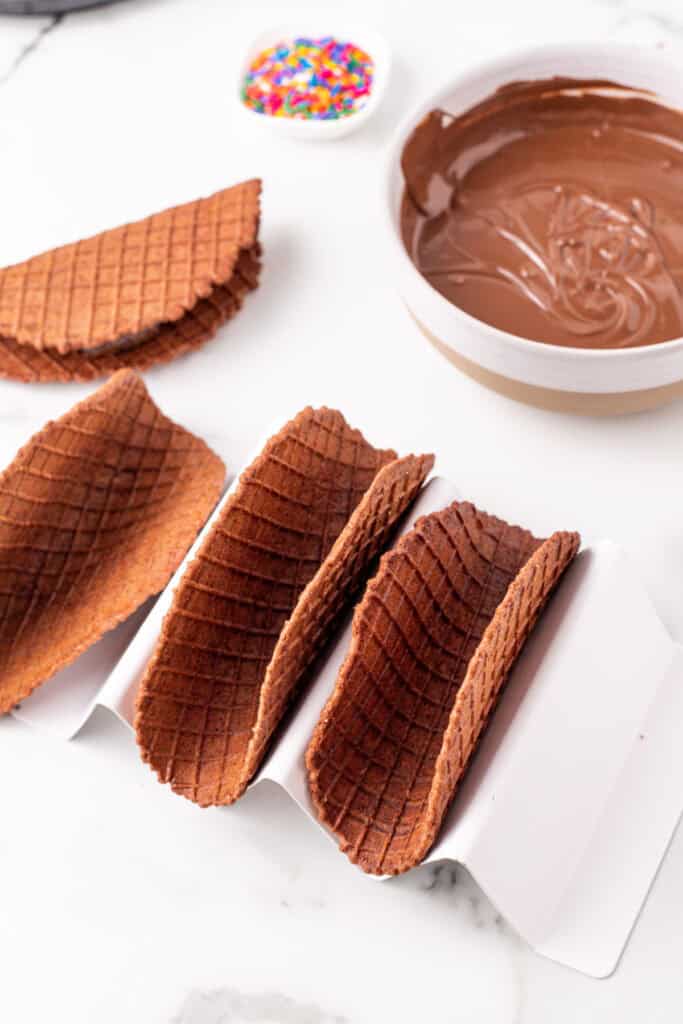
- Use a sturdy taco mold or make one from tightly rolled aluminum foil to help the shells hold their shape as they cool.
- If the shells crack, they were likely allowed to cool too long before shaping.
- For the cleanest presentation, use a cookie scoop or ice cream scoop to portion the filling evenly.
FAQs
A sugar cone waffle maker produces the thin, crisp shells that make this recipe work best. You can cook the batter on a lightly greased griddle or skillet like pancakes. Spread it thin (a bacon or meat press with parchment paper can help), cook for 30 to 45 seconds, flip, then cook for another 30 to 45 seconds. While still warm, fold into a taco shape and let cool completely.
Yes. If you don’t have a taco mold, you can make one by rolling aluminum foil into a firm taco shape or draping the warm shells over the handle of a wooden spoon balanced between two glasses.
Absolutely. Milk chocolate creates a sweeter shell, while dark chocolate gives a richer chocolate flavor.
Vanilla is the classic choice, but chocolate, cookies and cream, mint chocolate chip, birthday cake, strawberry, caramel, coffee, and peanut butter ice cream are all delicious options.
Yes. These are perfect for making a day or two ahead. Keep them frozen until you’re ready to serve.
The shells cool very quickly. Fold them over the taco mold immediately after removing them from the waffle maker while they’re still warm and flexible.
Definitely. Homemade vanilla, chocolate, strawberry, or coffee ice cream all work beautifully in this recipe.
Try chopped pecans, almonds, toasted coconut, mini chocolate chips, crushed chocolate sandwich cookies, toffee bits, colorful sprinkles, mini marshmallows, or even crushed candy bars.
When wrapped well and stored in an airtight freezer container, they’ll stay fresh for up to 2 months, although they’re usually enjoyed much sooner! 😉
Yes. Milk chocolate, semisweet chocolate, or dark chocolate all work well. For the smoothest coating, add a teaspoon of coconut oil or vegetable shortening to the melted chocolate.
Definitely! Adults should handle the hot waffle maker, but kids will love filling the taco shells, dipping them in chocolate, and decorating them with their favorite toppings.
Storage
Store homemade Choco-Tacos in an airtight freezer-safe container for up to 2 months.
If you’re stacking them, place a sheet of parchment paper between each layer to keep the chocolate coating from sticking.
For the best flavor and texture, enjoy them straight from the freezer while the shells are crisp and the ice cream is firm.
How to Make Chocolate Tacos
NOTE: This section includes a step-by-step guide. Find the full printable recipe in the recipe card below.
Quick steps:
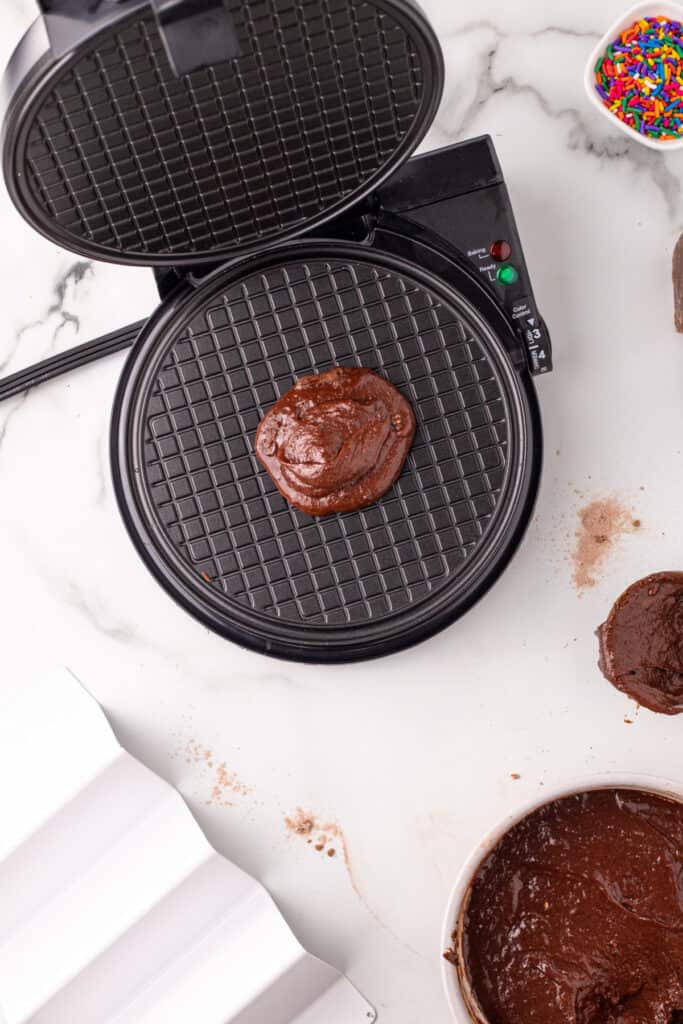
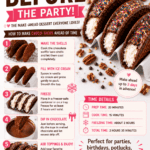
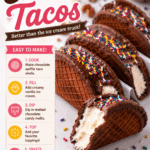
- Preheat your sugar cone waffle maker.
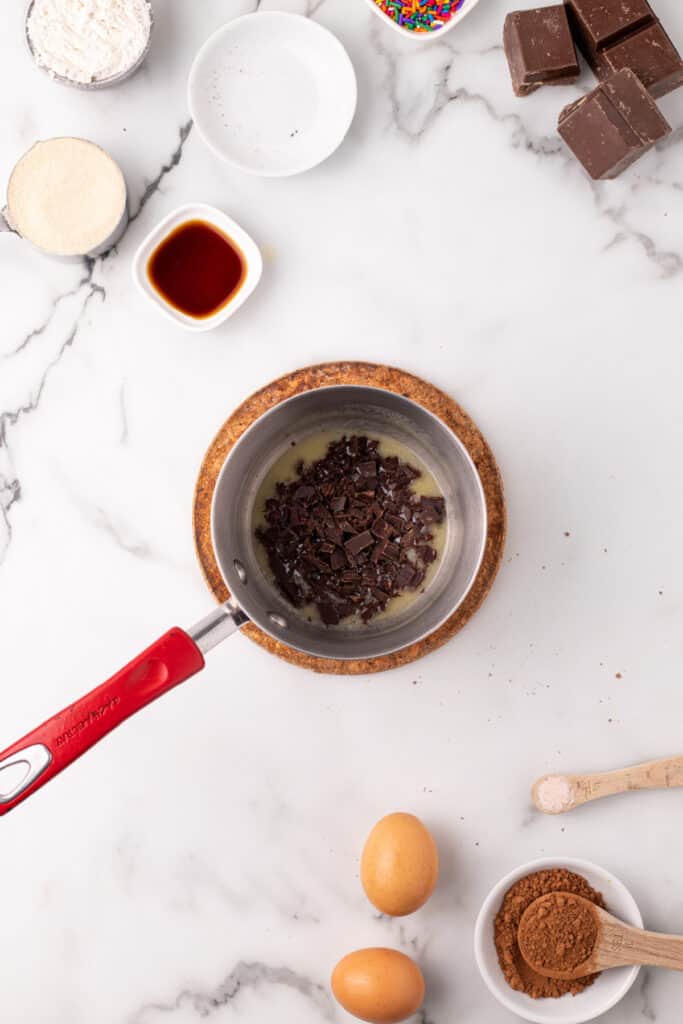
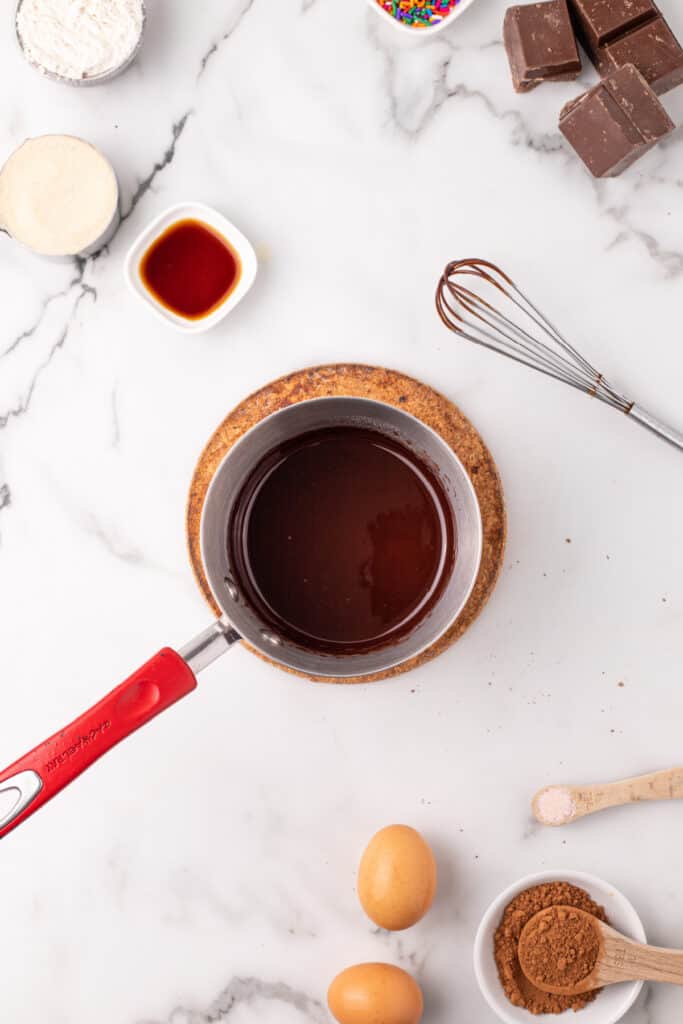
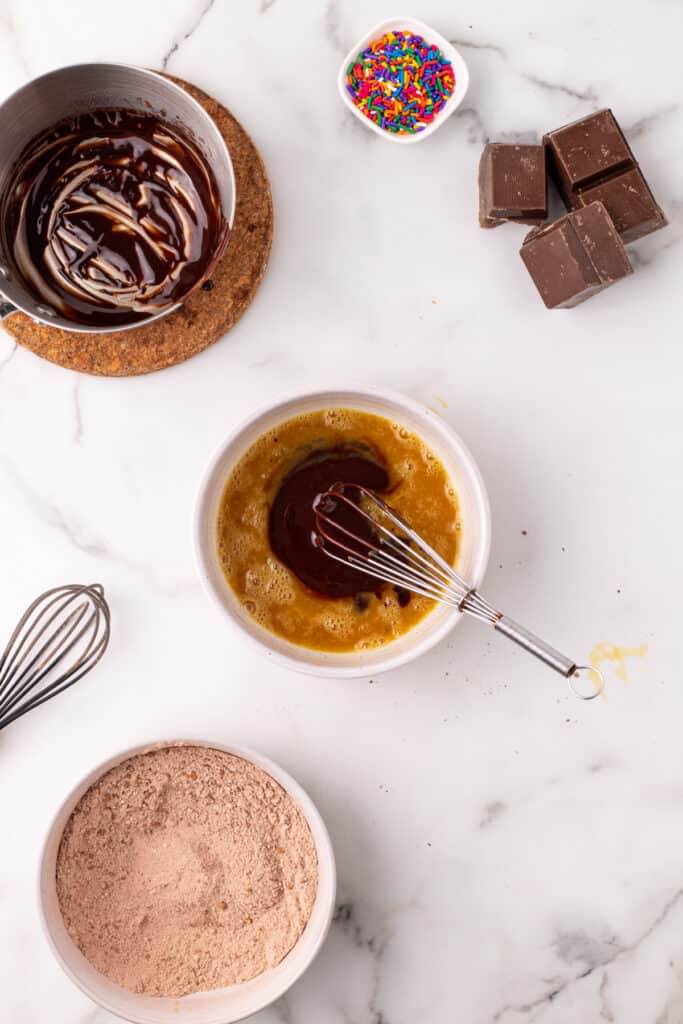
- Melt the butter and chocolate until smooth.
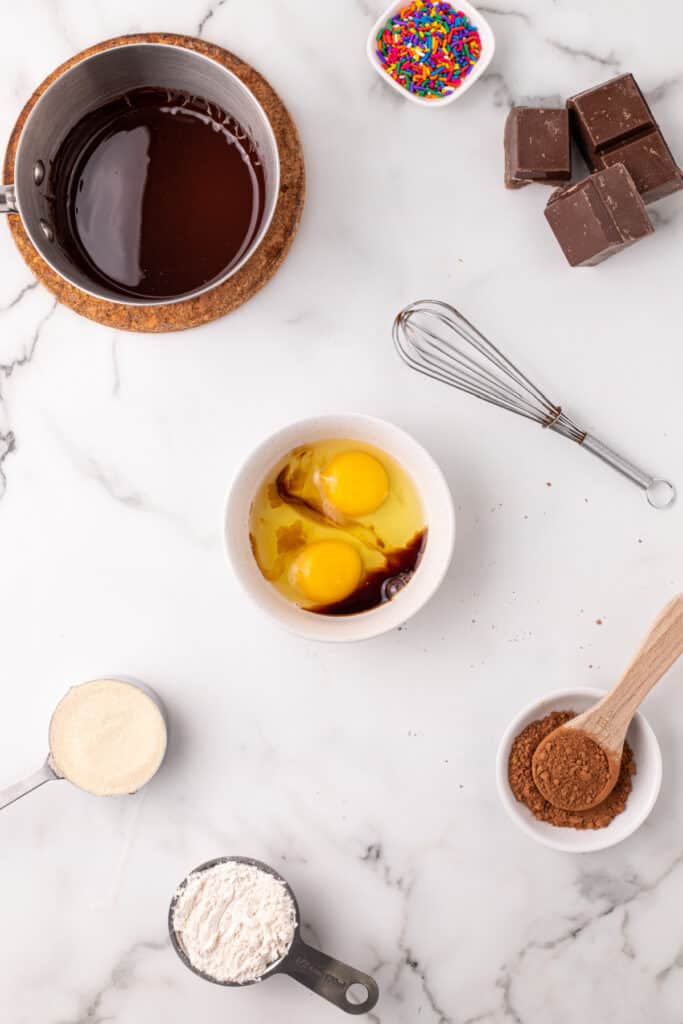
- Whisk together the wet ingredients.
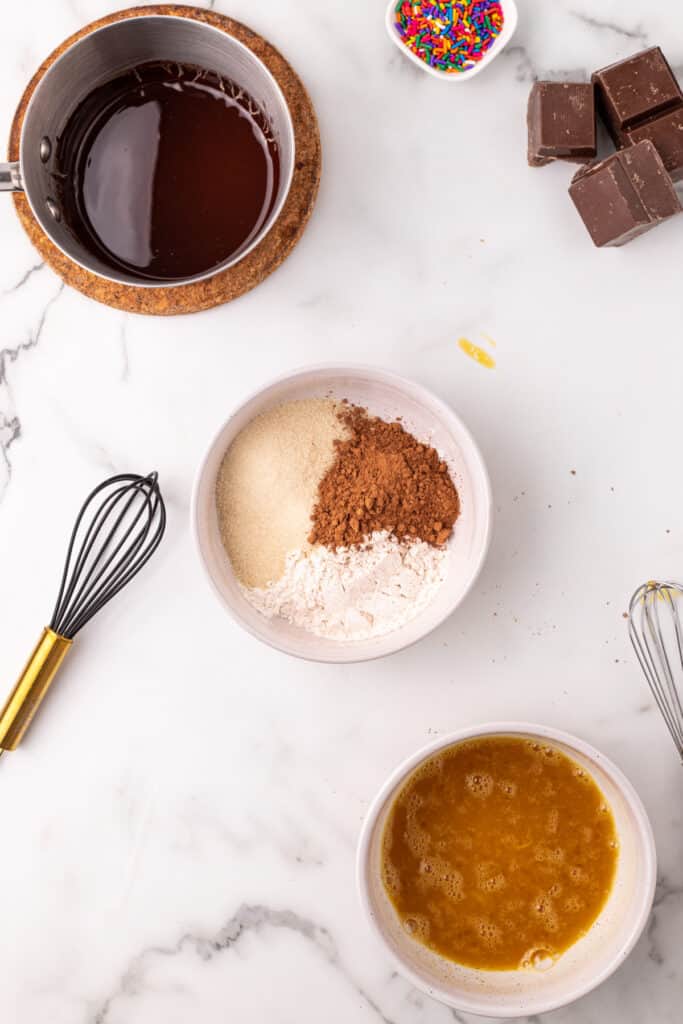
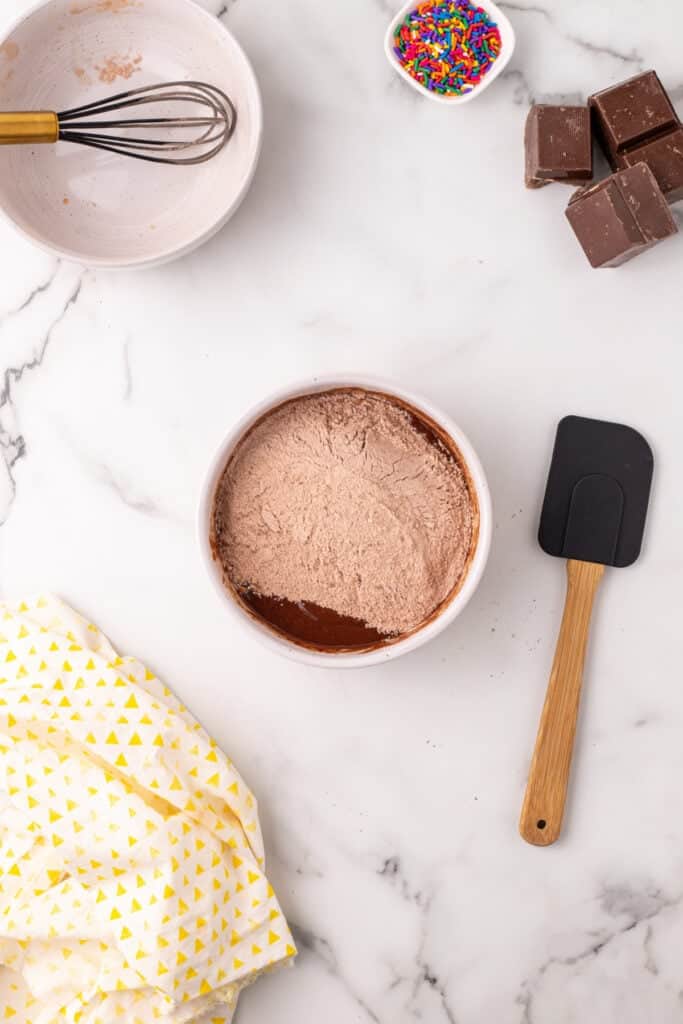
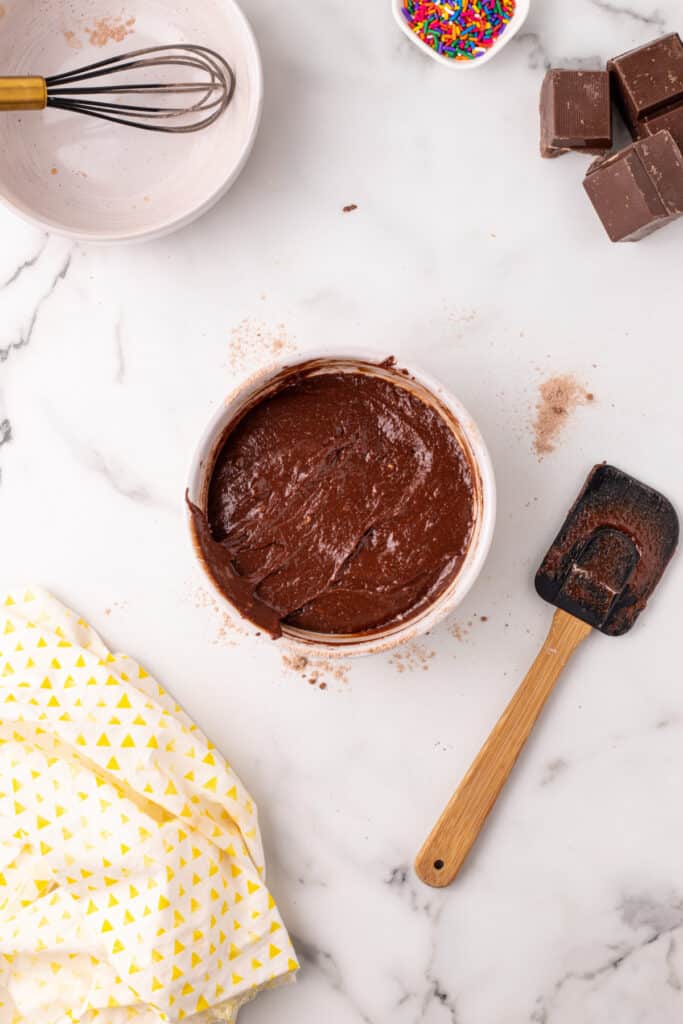
- Fold in the dry ingredients just until combined.
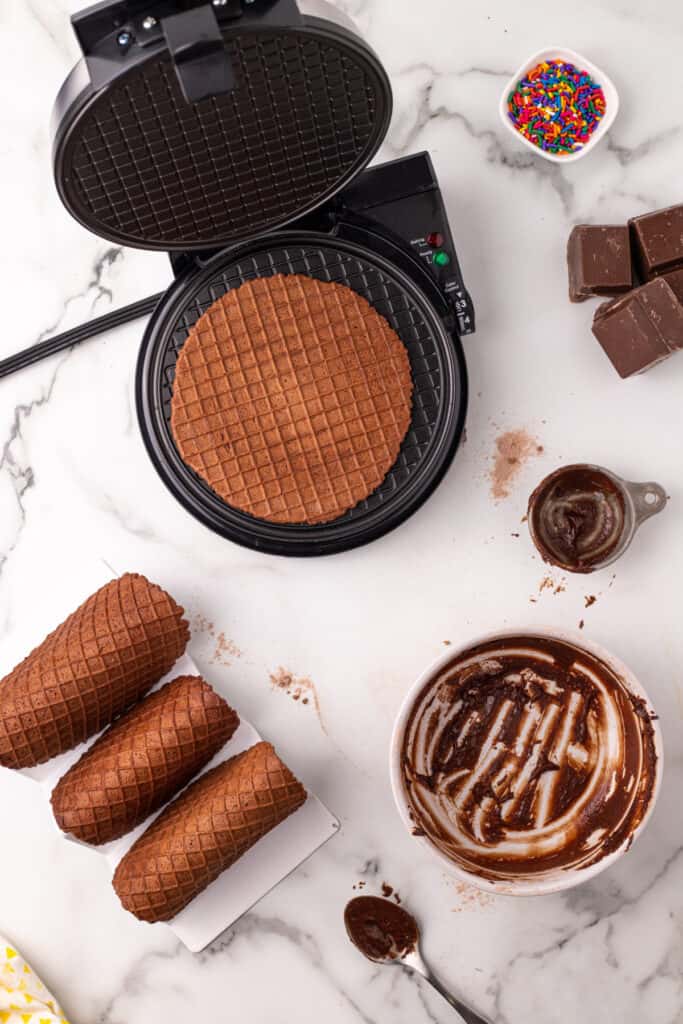
- Cook each shell until set and slightly crisp.
- Shape the warm shells over a taco mold and let cool completely.
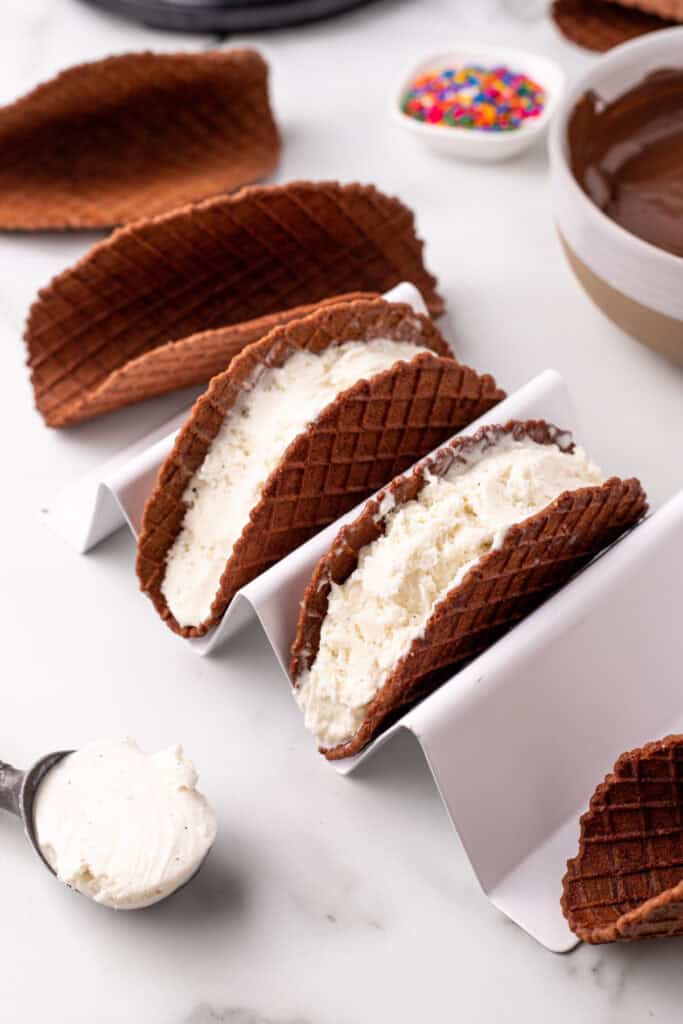
- Fill each shell with vanilla ice cream.
- Freeze until firm.
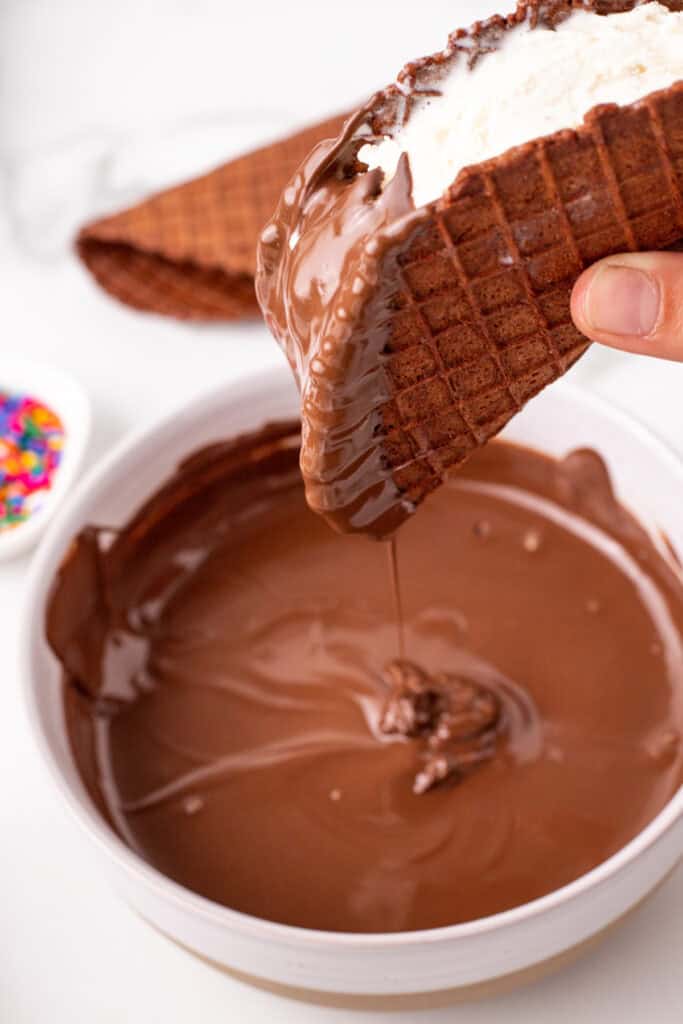
- Dip or drizzle with melted chocolate.
- Add your favorite toppings and freeze until the chocolate hardens.
Would you like to save this?
Make ahead
This Choco-Taco recipe is an excellent make-ahead dessert for parties and celebrations.
The chocolate shells can be prepared up to 2 days in advance. Once they’ve cooled completely, store them in an airtight container at room temperature until you’re ready to assemble.
You can also make the entire recipe ahead of time. Assemble the tacos, freeze them until firm, dip them in chocolate, add the toppings, and return them to the freezer until set.
For longer storage, wrap each Choco-Taco individually in plastic wrap or parchment paper before placing them in a freezer-safe container or zip-top freezer bag. This helps prevent freezer burn and keeps them from sticking together.
What to serve with homemade Choco-Tacos
This Choco-Taco recipe is the perfect ending to a backyard barbecue, birthday party, or summer cookout. While they’re delicious on their own, they’re even more fun as part of a build-your-own dessert bar with extra toppings and sauces.
Here are a few favorites to serve alongside them:
- Hot fudge sauce
- Caramel sauce
- Whipped cream
- Fresh strawberries
- Fresh raspberries
- Sliced bananas
- Chocolate milkshakes
- Root beer floats
- Frozen hot chocolate
- Fresh lemonade
- Iced coffee
- Cold brew coffee
A platter filled with homemade Choco-Tacos and bowls of colorful toppings is always a crowd favorite, especially for birthdays and family gatherings where everyone can customize their own frozen dessert.
If You Enjoyed Homemade Choco-Tacos
If these Homemade Choco-Tacos brought back sweet childhood memories, there are plenty of other frozen treats and chocolate desserts you’ll love, too! Whether you’re looking for another fun make-ahead dessert, an easy no-bake treat, or something to satisfy your chocolate craving, these reader favorites are worth saving for later.
Cool off with Ice Cream Pizza, a fun frozen dessert that’s perfect for birthdays and summer parties. If you’re in the mood for another homemade frozen treat, try Peanut Butter Ice Cream or No-Churn Cadbury Mini Egg Ice Cream for creamy scoops without an ice cream maker.
Craving even more chocolate? Cosmic Brownie Cookies deliver rich chocolate flavor with a nostalgic twist, while Chocolate Donut Holes make an easy bite-sized dessert everyone will grab.
And if you love over-the-top ice cream desserts, don’t miss Banana Split Trifle, packed with all the classic banana split flavors in one irresistible layered dessert.
📌 Save This Recipe
This Choco-Taco recipe is one you’ll want to make again and again for birthdays, backyard barbecues, movie nights, and summer celebrations. Save it to your favorite Pinterest dessert board so it’s easy to find the next time you’re craving a homemade frozen treat.
Pin this now to find it later
Pin It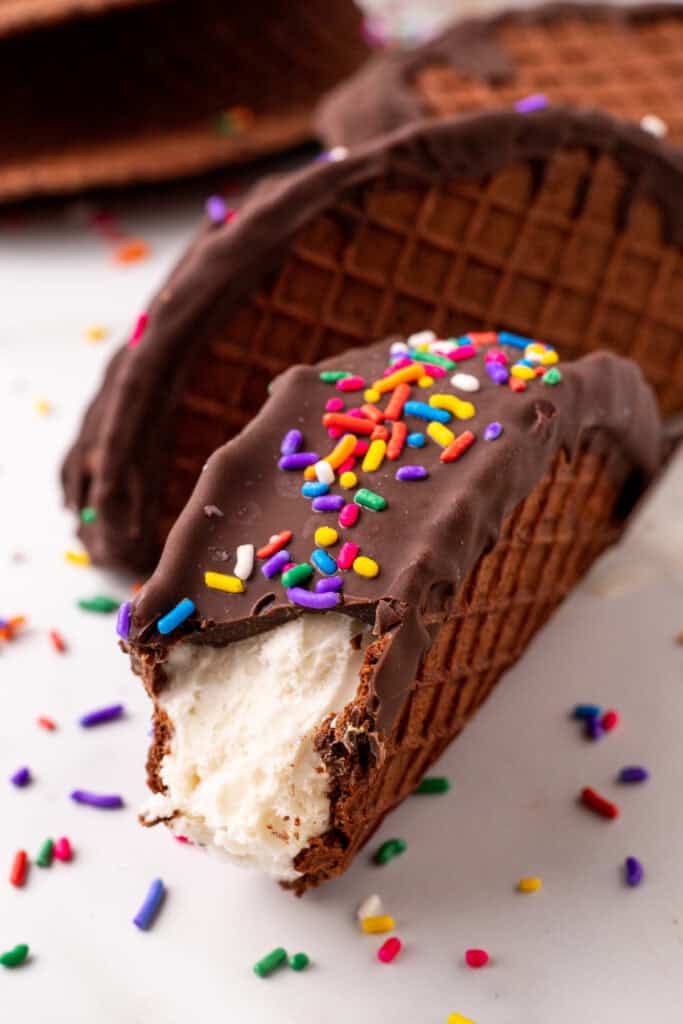

Choco-Taco Recipe
Would you like to save this?
Equipment
- small saucepan
- mixing bowls
- rubber spatula
- taco molds (or homemade foil taco molds)
- spoon
- wire cooling rack (optional)
- Freezer-safe airtight container
Ingredients
For the chocolate taco shells
- 2 tablespoons butter
- 1 ounce dark chocolate, chopped into small pieces
- 2 large eggs
- 1 teaspoon vanilla extract
- ¼ teaspoon salt
- ½ cup granulated sugar
- ½ cup all-purpose flour
- 2 tablespoons cocoa powder
For the filling
- 6 cups vanilla ice cream, softened
For the toppings
- 10 ounces chocolate candy melts, melted
- Optional: Sprinkles, peanuts, pecans, almonds, mini chocolate chips, crushed sandwich cookies, toffee bits, toasted coconut, mini marshmallows, etc. ….
Instructions
- Preheat a sugar cone waffle maker over a medium setting.
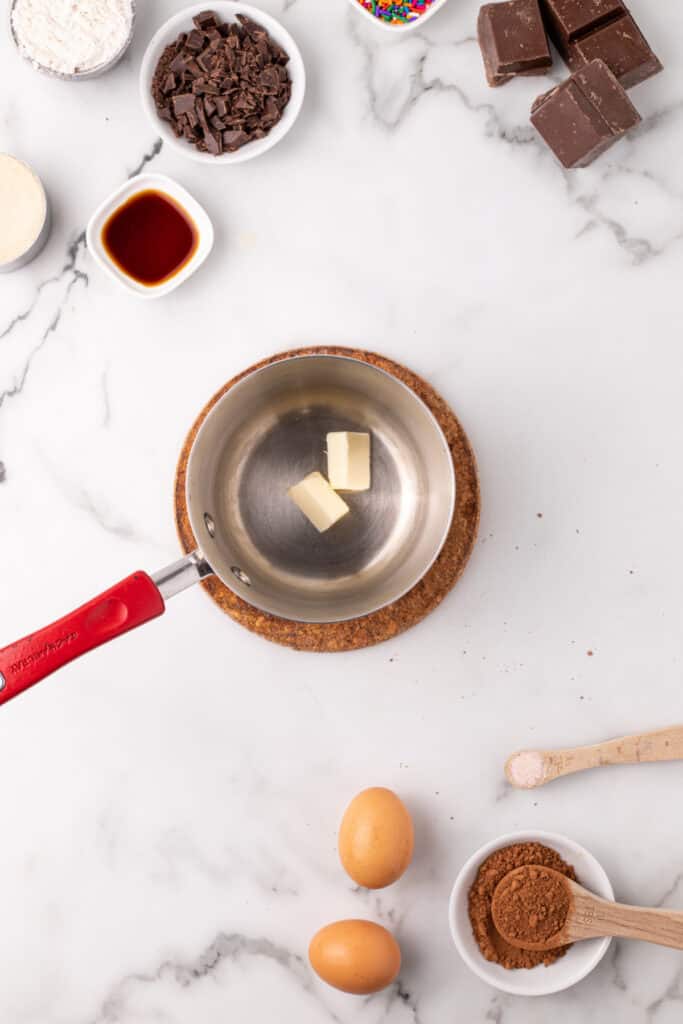
- In a small saucepan, melt the butter over medium heat. Add the chopped dark chocolate and stir until completely melted and smooth.2 tablespoons butter, 1 ounce dark chocolate
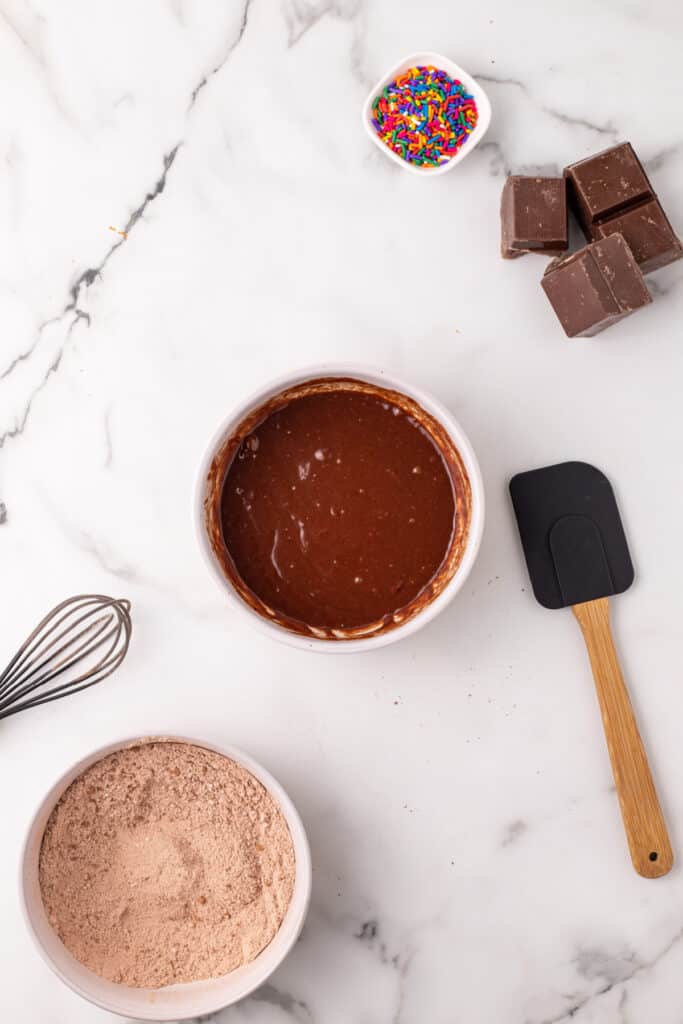
- In a medium bowl, whisk together the eggs, vanilla extract, and salt. Slowly whisk in the melted chocolate mixture until smooth.2 large eggs, 1 teaspoon vanilla extract, ¼ teaspoon salt
- In a separate bowl, combine the granulated sugar, all-purpose flour, and cocoa powder. Fold the dry ingredients into the wet ingredients just until combined. Do not overmix.½ cup granulated sugar, ½ cup all-purpose flour, 2 tablespoons cocoa powder
- Spoon about 2 tablespoons of batter into the center of the preheated waffle maker. Close the lid and cook for 1 to 2 minutes, or until the shell is set and slightly crisp.
- Carefully remove the shell and immediately drape it over a taco mold. Allow it to cool completely before removing it from the mold.
- Repeat with the remaining batter.
- Fill each cooled shell with vanilla ice cream and place the tacos in the freezer for about 2 hours, or until firm.6 cups vanilla ice cream
- Dip or drizzle the tops with melted chocolate candy melts.10 ounces chocolate candy melts
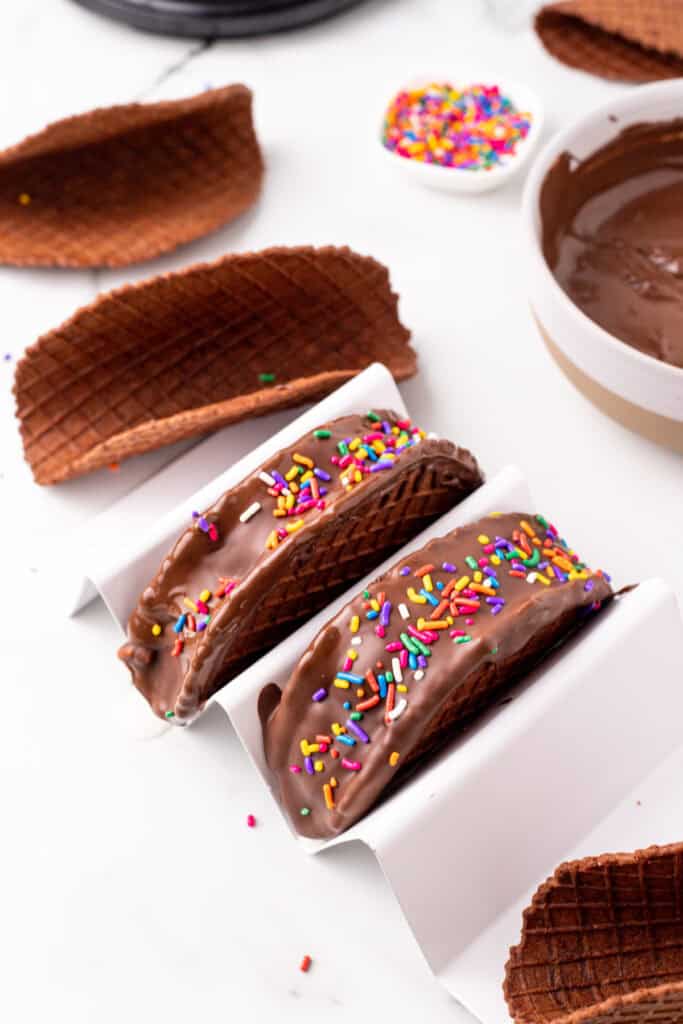
- Immediately decorate with sprinkles, chopped nuts, toasted coconut, mini chocolate chips, crushed cookies, toffee bits, or other favorite toppings.Optional: Sprinkles, peanuts, pecans, almonds, mini chocolate chips, crushed sandwich cookies, toffee bits, toasted coconut, mini marshmallows, etc. ….
- Return the tacos to the freezer until the chocolate coating has completely hardened before serving.
Notes
Nutrition
Nutrition information is automatically calculated, so should only be used as an approximation.
🍽️ Other Recipes You May Enjoy
If you enjoyed this recipe, here are a few more reader-favorite recipes from Love Bakes Good Cakes you may want to try next.



These look so good! I can’t wait to make them!
This looks really really good! A perfect treat! I cannot wait to make this. Thank you for sharing this 🙂
I’ve never heard of a sugar cone waffle iron before. I think I need one of those. Now that’s my kind of ironing. LOL. These choco-tacos look so cute and delicious!
My daughter would love these! Might be fun to make for her July 4th Birthday! Could you possibly use a pizelle maker? I do have one of those.
These look so delicious!
Even easier wrap a waffle cone bowl [premade from grocery store]in wet paper towel microwave for 15-25 seconds it's soft enough to reshape it into a taco shell